


Truman Event Manager Documentation
Registering for an Event
In order to register for an event, you must first log in with your Truman username and password. Then click on
the name of the event you want to register for on the "Upcoming
Events" page.
You will see a page similar to the one shown below. Fill out the form at the bottom of the page to register for the event.
Removing Yourself from an Event
If you've registered for an event and can no longer attend, login and on the "Personal Home" page there will
be a list of "Your Upcoming Events." Click on the "Remove Yourself" link to remove your registration from an event.
Creating an Event
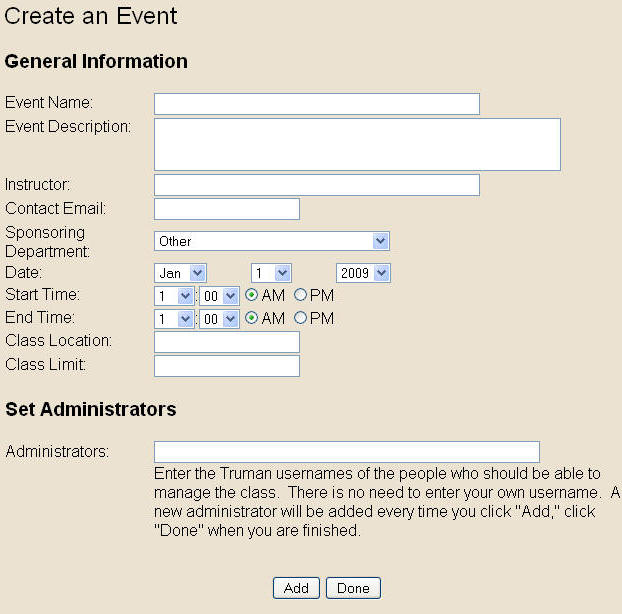
Creating an event is pretty simple. Just login and click on the "Create an Event Link."
You will see a page similar to the one shown below. Fill out the form with your event details and click "Done" when you are finished.
Managing Your Event
Once you have created an event, when you log in or visit the "Personal Home" page,
a link will appear that says "Manage Events". Click on this link to be taken to the
"Event Administration" page where you can edit, delete, view an list,
and perform other administrative tasks.
You will taken to a page similar to the one shown below:
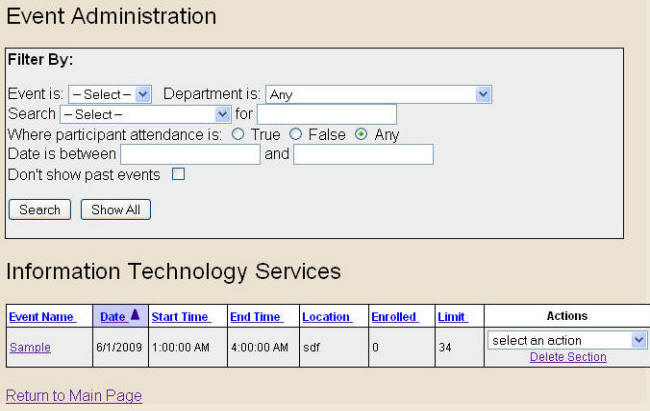
Under the "Select an Action" box, you have choices for:
- View/Edit Details
- Manage Attendance
- Card Swipe Attendance (in or out)
- Add Additional Section
- Send Email
Editing Details
Choosing View/Edit Details on the "Event Administration" page allows you to modify
details of the event, date, instructor, administrators, etc.
Attendance
Viewing Attendance List
Choosing Manage Attendance on the "Event Administration" page allows you to view a list of people
who are currently signed up for the class. This page displays their contact information and any notes they
entered when they signed up for the class (whether they are seeking credit for a specific class, etc.)
and can be exported to Excel. You can also mark whether or not people who signed up actually attended
the event.
Adding Another Section
Choosing Add Additional Section on the "Event Administration" creates an additional instance of an
event that you can make occur at a different time or place. This way if you have an event that is occuring
on multiple days or times, you can just create it once and then choose Add Additional Section to
add another occurance.
Sending an Email
Choosing Send Email on the "Event Administration" page allows you
to send an email to everyone who is signed up for the class. This allows you to send
a reminder for an event or a notification if it is cancelled for some reason.
Deleting an Event
To delete an event, visit "Event Administration" page and
simply click on "Delete Section" under the event that you want to
remove.